In our previous article (part one of this series), we presented the Agama AWE SDK, the requirements needed to create a simple application to provide real use for Agama customers, and the project’s configuration.
In the second part of the series, we’re diving into how to create the layout and styling, and also elaborate on the application logic.
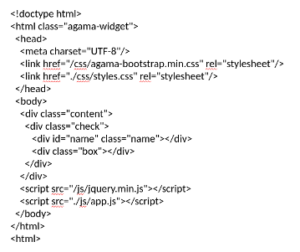
We have created a boilerplate application and defined the configuration parameters that shall be possible for the users to adapt. It is now time to start creating the actual functionality of the application. An important part of that is the actual layout and structure of the presentation, which for these applications is controlled by standard HTML, CSS, and JavaScript. In the application index.html below, we have modified the boilerplate HTML structure and instead defined a set of div:s used as placeholders for the configured test name and a div for the status indicator.
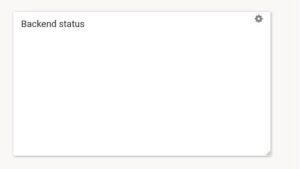
The ADE will automatically update the UI while editing and saving HTML so the structural changes will be shown immediately. The result is not interesting right now as we have not yet populated the div:s with any content and styling, so the result is still just an”empty” screen.
The Application logic
To start populating the application with the configured content, test logic and the test status results, we need to start adding JavaScript code.
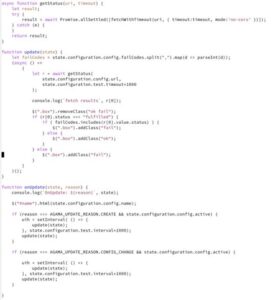
The main application entry point that is called by the Agama application framework is the onUpdate function. This function has two parameters, state and reason. The state parameter is an object that contains the configuration of the application. So, all the parameters that we defined in the JSON returned in the onConfiguration function, will be available in this object. The reason parameter is an integer stating why the function is being called; it allows us to implement different handling and behavior depending on this. In our application, we must handle the creation and configuration change reason. In the code above one can see how easily and obviously we can access and use the different configuration parameters that we have defined.
The program logic needed to implement the functionality is quite simple. When the application is created, we set up a timer that ensures that our test function update() is called at the user configured interval. The update() function in turn calls the defined REST API and checks the result codes against the configured, and depending on the result adds either fail or ok CSS class to the status div.
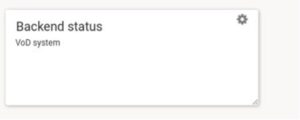
The current result is now as above. We can now see the defined test name, in this case “VoD system” (which is the name we configured) but we do not see any status symbol. That is correct and it is because we have not yet added the styling for the status div.
Styling
Adding CSS styling for the application is the last step in getting the applications appearance and functionality in-place. We use the automatically created file css/style.css and add the following.
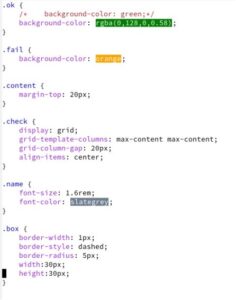
It is here where we define the fail to indicate with an orange background, and ok to indicate with a green background.
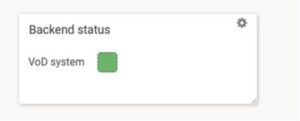
Yes, now it looks more promising!
About Anders Svensson
Anders is a successful technology executive with more than 20 years of experience in the telecommunications, information technology, and streaming industry. He is responsible for the technology selections working closely with product management and development teams to ensure the best possible prerequisites in creating Agama’s industry-leading solutions.
